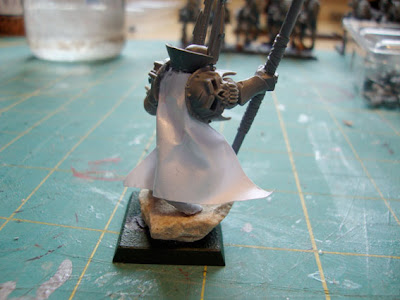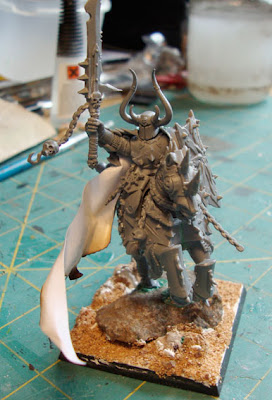
When I had put this model together I thought it really needed a cloak to make him look more important. None of the plastic clocks would fit, and i'm rubbish with green stuff, so I needed to think of another way of making it. When I remembered paper banners, something which has been killed of (when I had final mastered doing them) with GW plastic ones.
eg
I've never seen guides or even anyone try paper cloaks on the internet before, so I thought it would be a good idea to share this, as I'm really impressed with the results.
1. Starting with the model, as you can see at the minute he looks rubbish.
2. Draw the shape of the cloak and cut out!
3. Bend in to a ruff shape around the model and glue it to the points which touch the model. On this model its the back and the back of the feet.
4. Paint the cloak with a coat of water down PVA Glue and shape again. When dry give it a few more coats of PVA. When your finished it should be really stiff, almost like very thin plastic.
5. Then I used green stuff to blend it in with the rest of the model.
6. Finished off with other bits added to the model.
7. Then painted as normal
I enjoyed making the sorcerers cloak, so I've added one to my Exalted Hero as well. But I wanted it to look more worn, so I used a match to burn the edges. I did this before I glued it to the model, because the results are bit hit or miss, also burning things is always fun!!
Then sculpted the green stuff to look like fur and blend into the model.
I hope you've found this post useful. I think using paper on models is an art/technique which has really died out in recent years, which is a shame, because when done right the results can be fantastic. For my next army (which is looking like being an Orc and Goblin one) it will have all paper banners.
Cheers!!


